
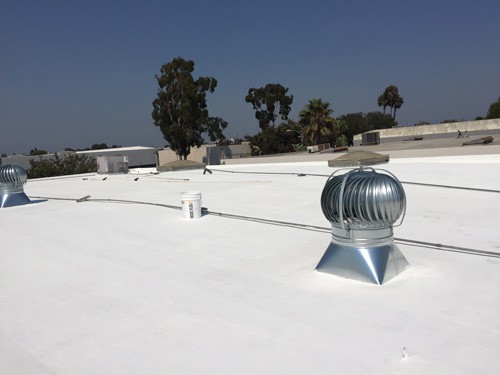
Deck Flex W.M. Walking Deck & Roof Covering System
Class A Fire Rated waterproofing system for plywood and concrete decks. ICC-ES listed for building code compliance.
View Details →


For over 30 years, Deck Flex™ has been manufacturing ICC-ES listed walking and roof deck waterproofing systems, elastomeric roof coatings and other specialty coatings here in the USA. Our deck waterproofing systems featuring TetraCrete®, are building code compliant and trusted by architects, engineers, property managers and homeowners to deliver beautiful, long-lasting results.
From deck paint for residential wood decks to building code compliant walking deck waterproofing systems and Title 24 compliant elastomeric roof coatings that meet cool roof energy standards, we have the right deck coating for your application.
Our Deck Flex W.M. Walking Deck & Roof Covering System and Deck Flex W.F. Walking Deck & Roof Covering System are multi-layer deck waterproofing systems implement TetraCrete® cementitious systems and are ICC-ES listed (ESR-3672) with Class A and B fire ratings for code compliance over plywood and concrete.
Class A Fire Rated waterproofing system for plywood and concrete decks. ICC-ES listed for building code compliance.
View Details →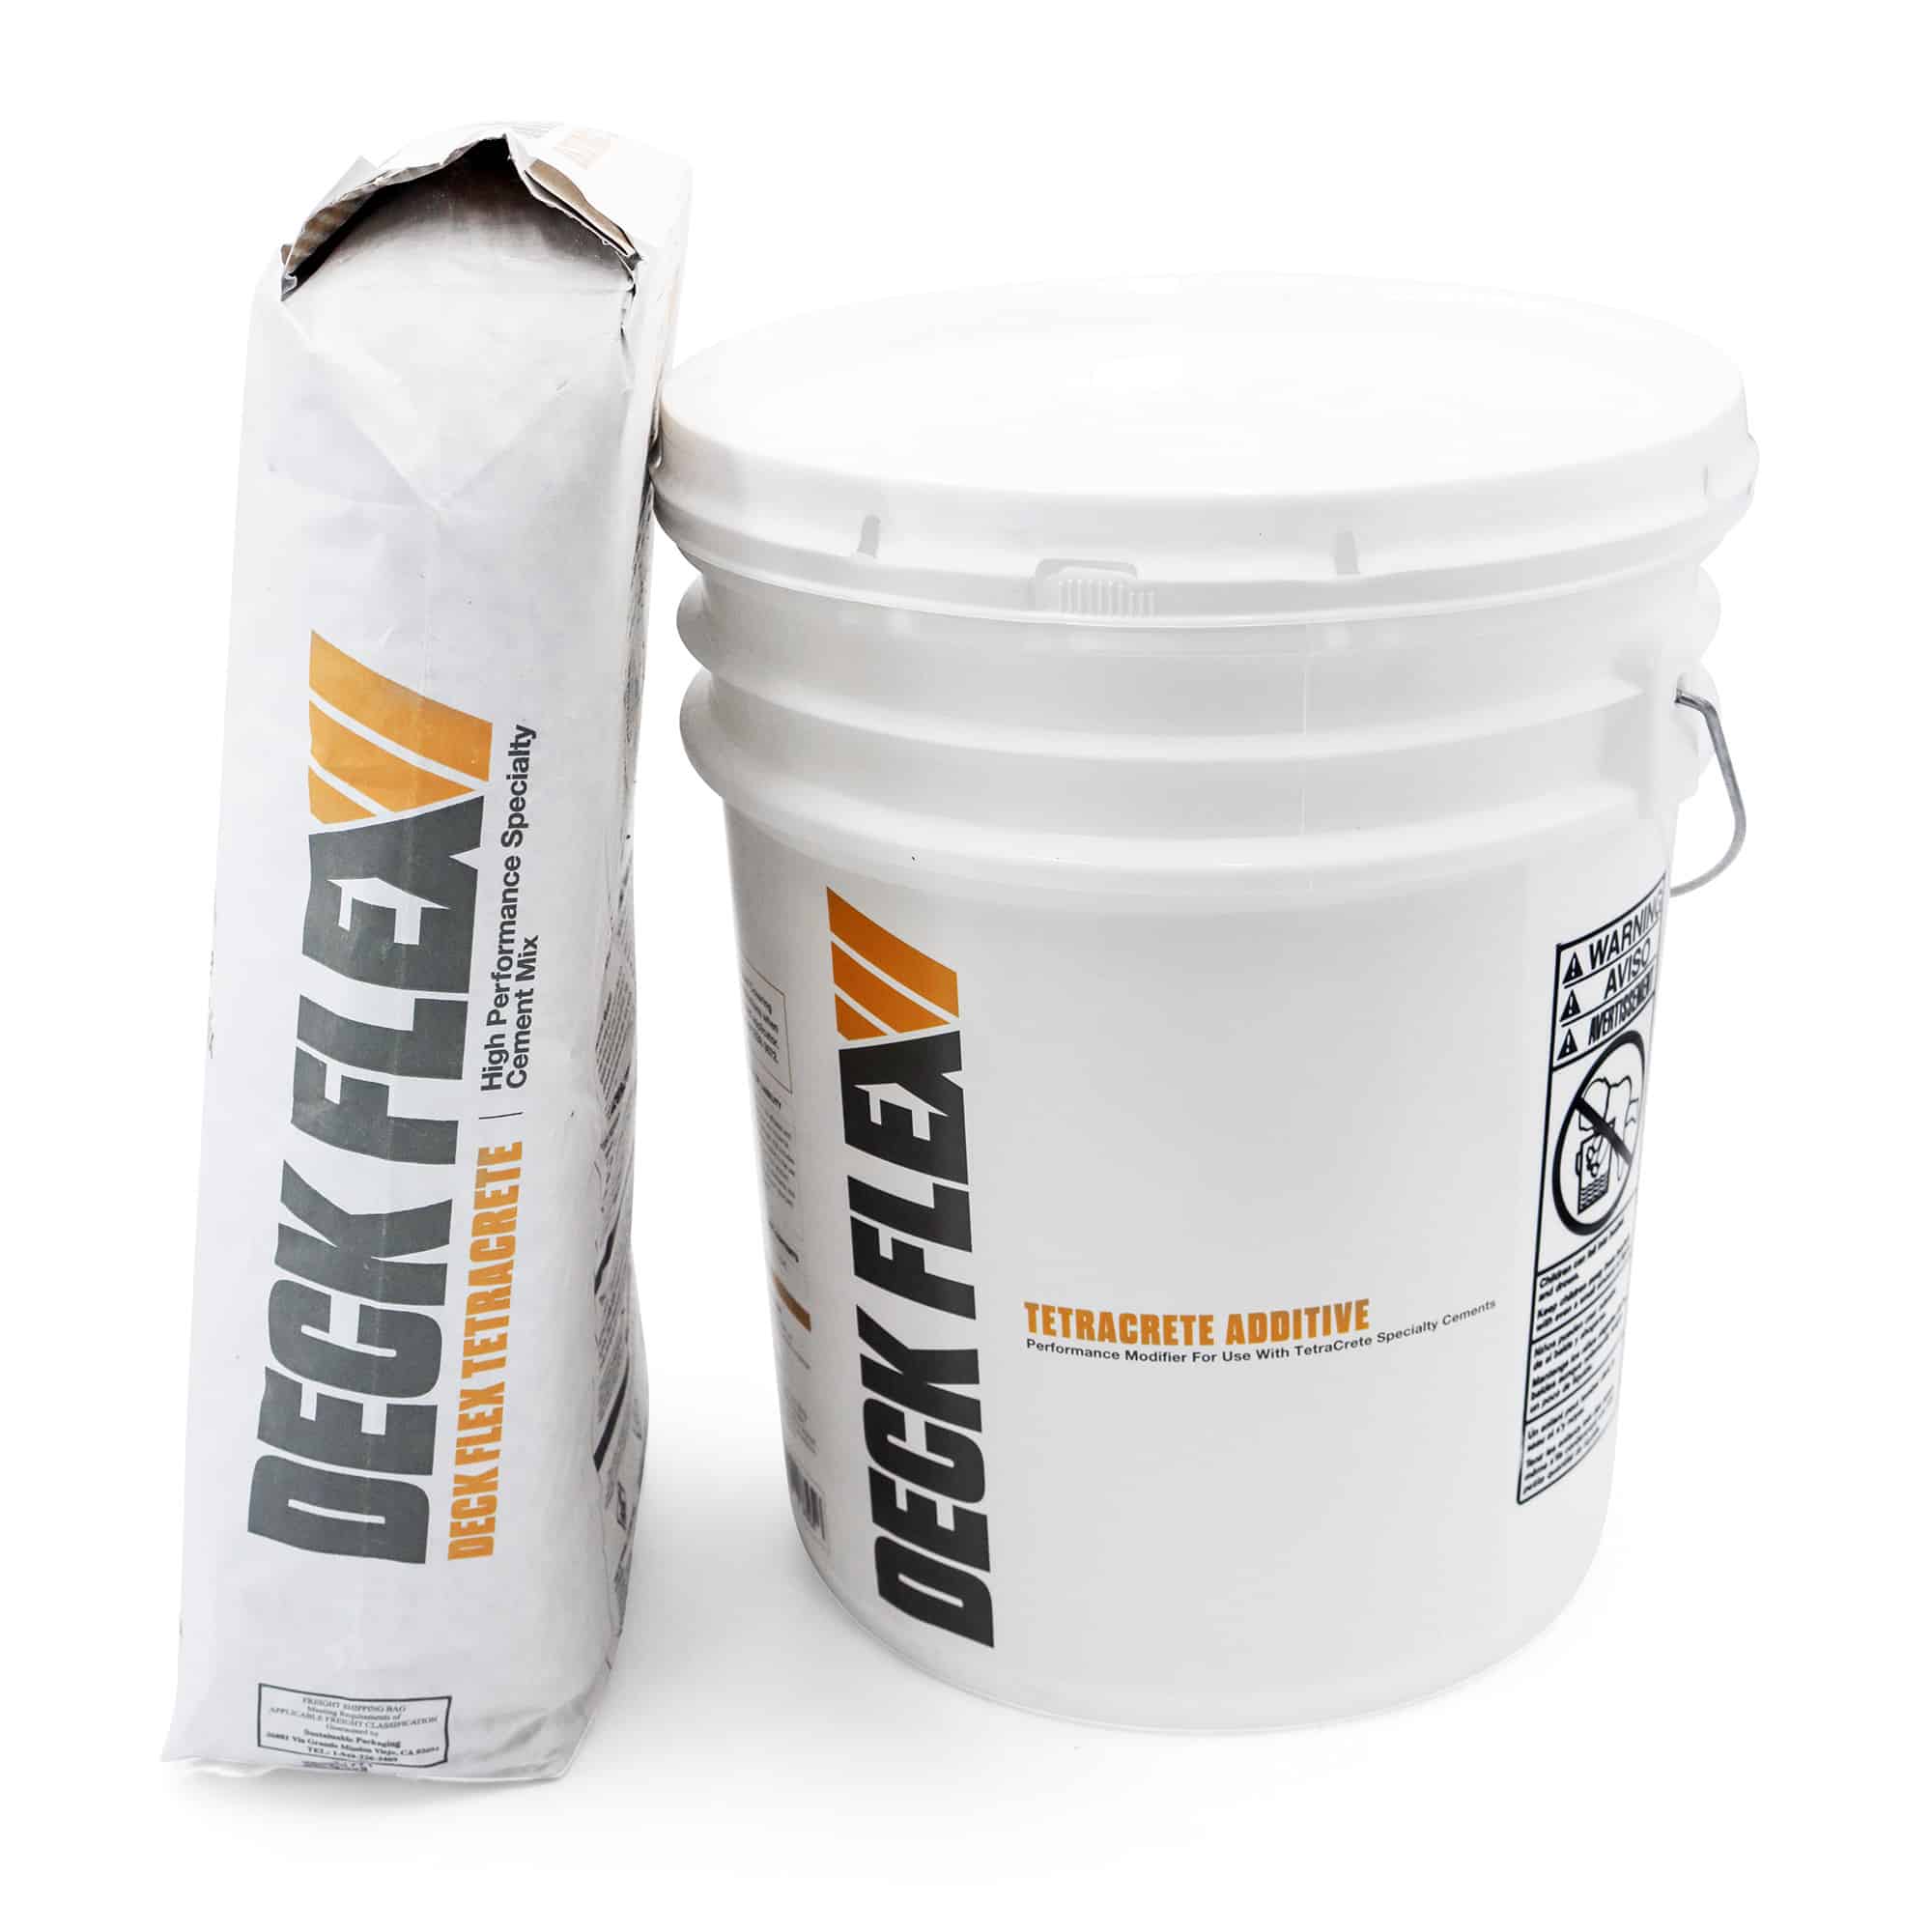
Class B Fire Rated waterproofing system. Perfect for residential and light commercial applications.
View Details →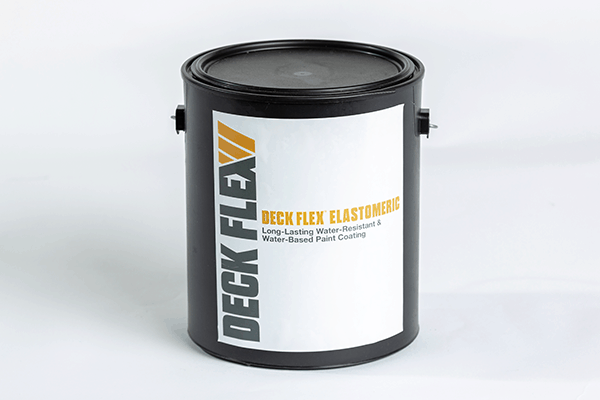
A durable, flexible elastomeric coating designed for deck surfaces. Provides excellent waterproofing and UV protection.
View Details →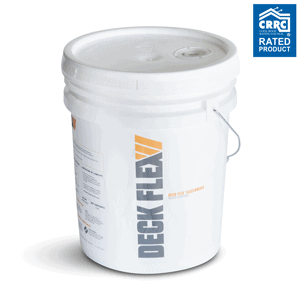
Energy-saving elastomeric roof coating. Meets Title 24 requirements for commercial roofing applications.
View Details →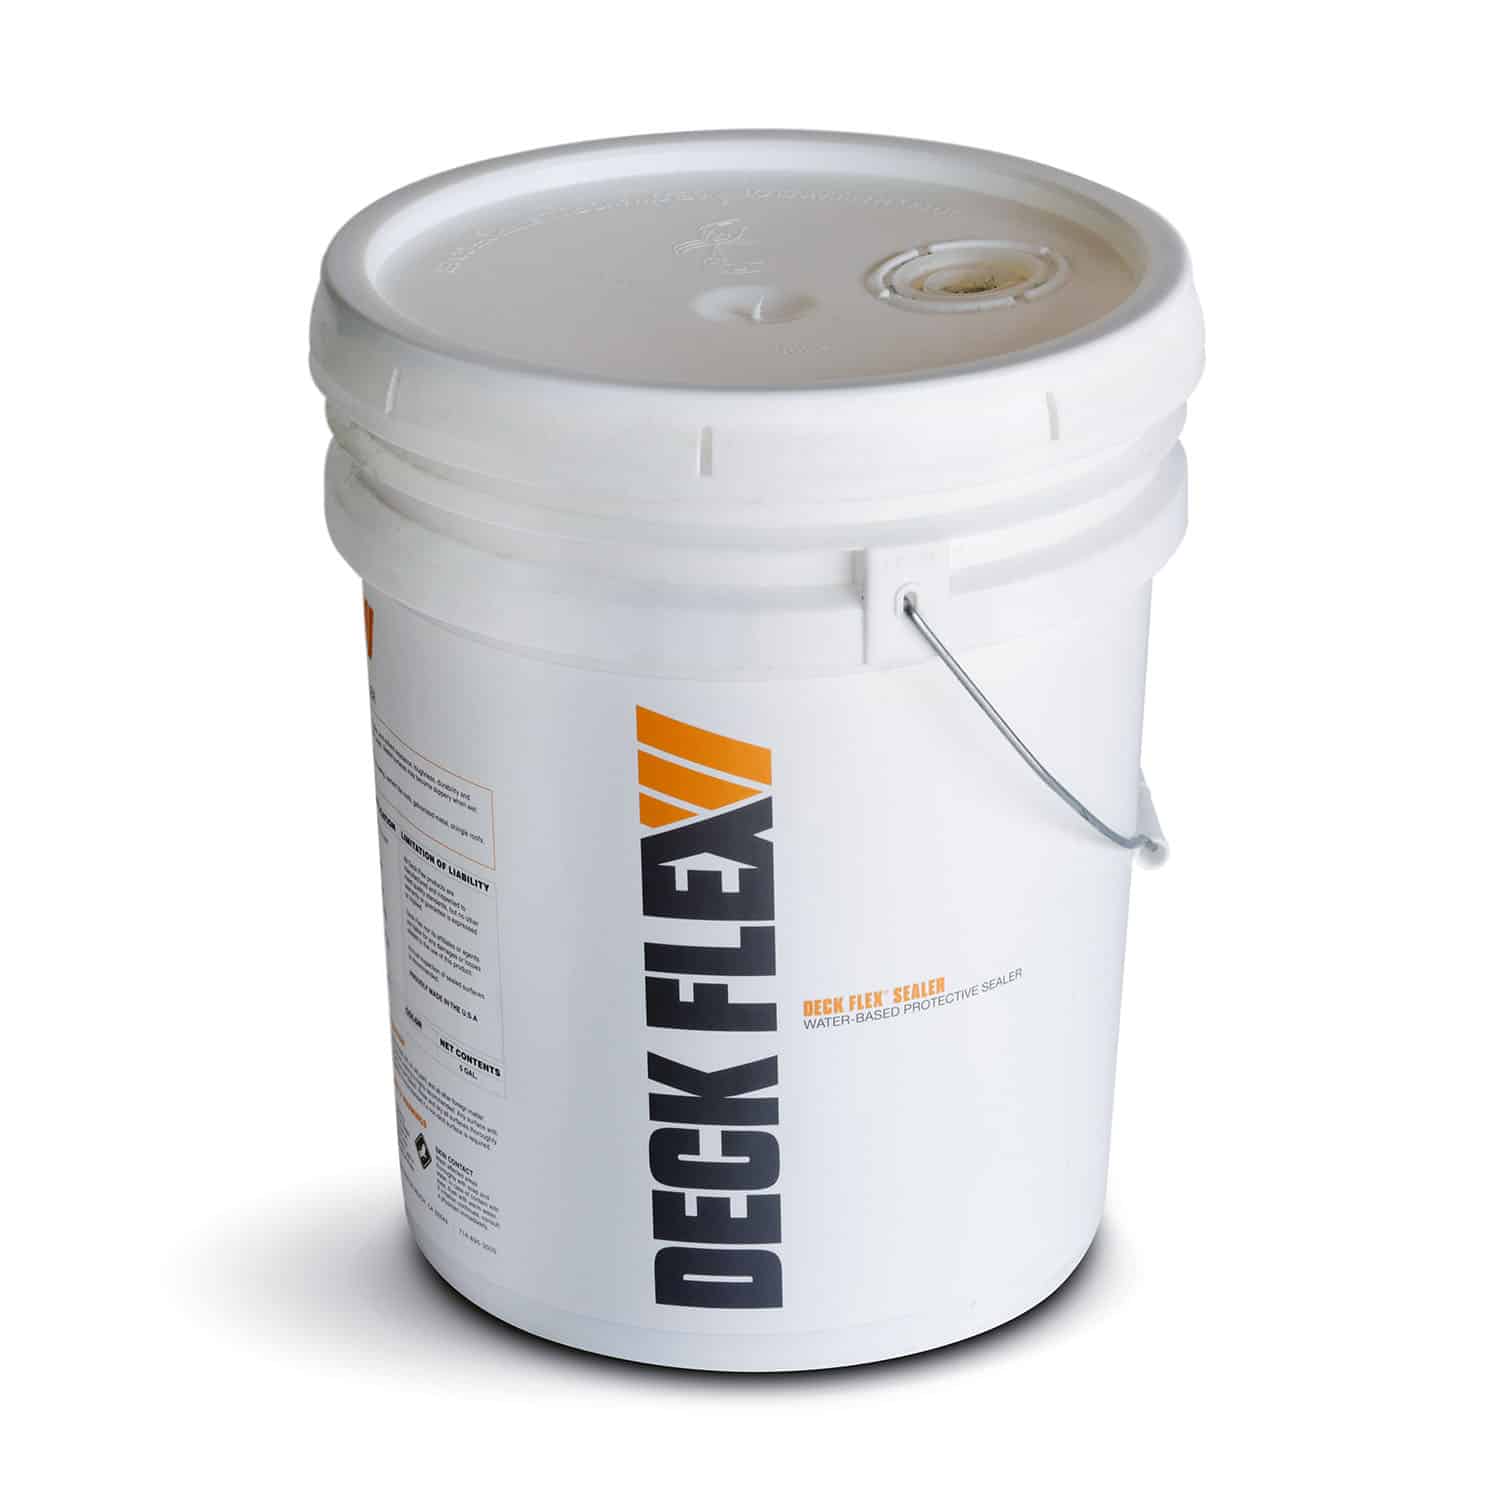
Waterborne industrial sealer that protects various surfaces from water, chemicals, and solvents. 400 sq. ft. coverage per gallon.
View Details →Step-by-step installation guides and technical resources on deck waterproofing, building codes, and product selection.
Step-by-step guide to applying our elastomeric roof coating for maximum durability and energy efficiency.
Read Guide →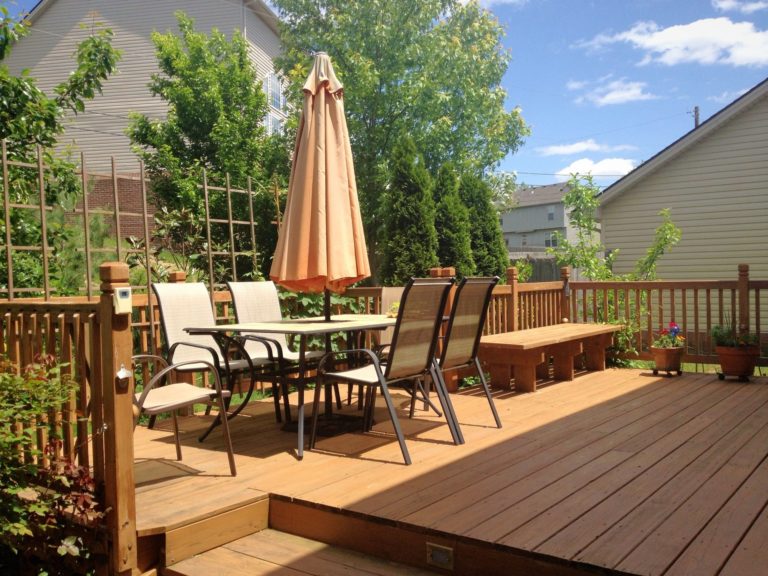
Learn the best practices for sealing and protecting your wood deck to ensure long-lasting beauty and performance.
Read Guide →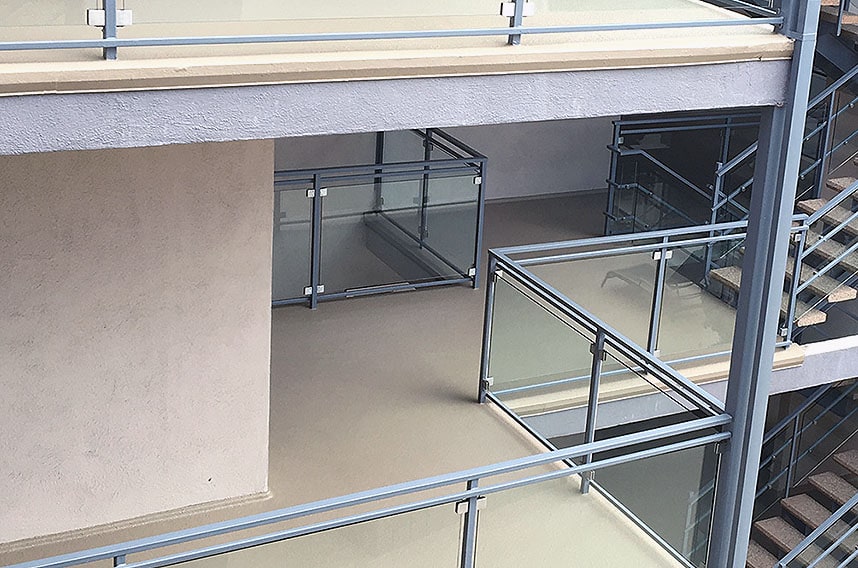
Expert advice on selecting the right deck coating product for your specific needs and climate conditions.
Read Guide →Learn what ICC-ES AC39 is, why it matters for deck projects, and how it ensures product quality and code compliance.
Understand ASTM E84 fire testing, flame spread indexes, and when Class A or Class B ratings are required.
Get advice, specifications, and pricing information from our expert team.